

Keep your kitchen organized with these practical tips
Quick Kitchen Organizing Tips
To set up for success, break down decluttering projects into small, manageable steps. Pace yourself. Set aside 11-15 minutes to dip your toe in until you get in the groove. Then go hog wild as time permits.
Before You Toss That Yucky Fruit
If you’re anything like me, you hate wasting food. Subliminal messaging I suppose from the many meals that I didn’t like as a child, that I didn’t wish to eat, while being instructed that there were starving children in various countries. How could I be so selfish? I would have gladly shipped the contents on my plate to any one of them (if I had their names, addresses, and money for postal fees). There was also no leaving any scraps on the plate; those would be saved for future meals if I was lucky to escape with that fate.
Then there’s the cost of food. At today’s prices, do you feel pangs of guilt tossing still-edible groceries? Guilt is a way of life for me, one of many traits I’m working to shed like destructive excess weight.
Last month, I purchased a large organic (yes slightly more expensive than conventional) papaya. The skin looked mostly ripe, while still somewhat firm. More about that misinterpretation in a sec.

My papaya should have looked like these, richly colored and lusciously soft. Image by 3centista from Pixabay
I appreciate papaya seeds’ beneficial digestive enzymes. I scatter those crunchy, slightly pungent peppercorn-flavored tidbits into salads. Definitely an acquired taste. The fruit contains high levels of antioxidants, vitamins, fiber, and minerals, folate, and pantothenic acid. Lots of nutritional value that lasts for many meals and not too pricey considering.
Never eaten a papaya? I’ve never been a melon fan. Admittedly papayas are melon-like in texture and a smidge in taste. However, well-ripened papayas taste sweeter to me, and providing flavorful bulk to salads and fruit bowls.

Papaya blended into a juicey smoothie with added water. It rendered 3 medium size jars.
Back to December’s papaya. Turns out it wasn’t ripe after all. It was like eating an overly firm, taste-less melon. I gave it a few goes until I couldn’t face another bite. Had I known that it was so unripe, I would have let it ripen, uncut in a paperbag as I normally do. The cut-up hull took up valuable space in the fridge for a few days. I sensed welling guilt each time I opened the fridge despite attempts to bury it behind larger items, out of sight.
One morning, as I prepared my breakfast, I reached into the fridge to grab the papaya chunk to toss into the compost when the guilt stopped me cold. That gave me enough time to pause and consider other options. Ok, what if I blended the papaya into a smoothie with other ingredients? I didn’t have time to make one of my multi-fruit and veggie smoothies, so after blending with about 1 cup of water, I added about ¼ cup of the blended juice into my orange juice to bulk it up. It passed the taste test. The sweetness of the OJ compensated for the bland papaya.
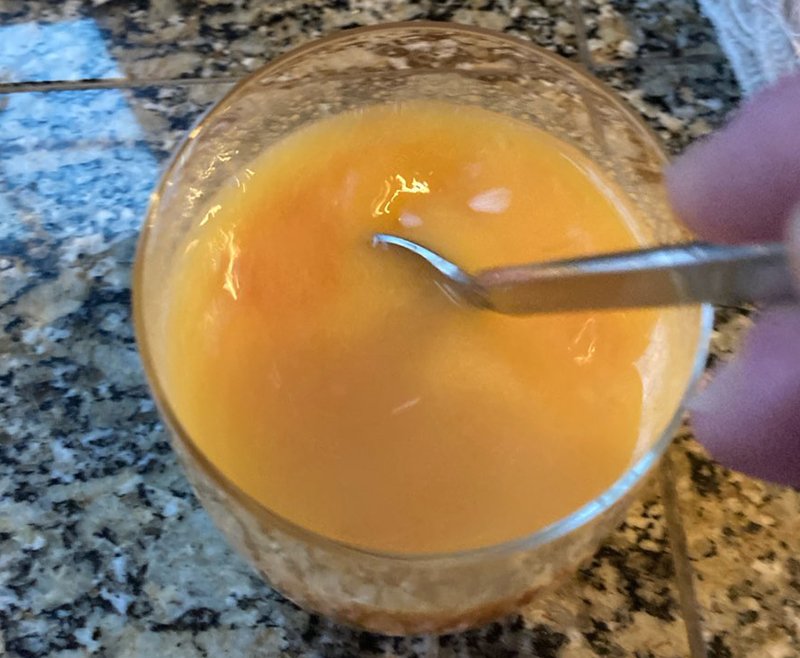
Blended papaya bulks up my morning OJ extending the quantity by several days.
My favorite OJ is rather costly, by accentuating each half glass with ¼ cup of the papaya blend, I extended the life of the OJ for many more days. And when that ran out, and the grocery store only had their generic brand, which was watered down considerably, surprisingly the tasteless papaya added pleasing flavor.
No guilt because the papaya was saved. And theoretically, I still benefited from the fruit’s nutritional benefits. I say theoretically because I don’t know how unripe values compare to fully ripened fruits.
I’m not sure why I hadn’t thought of this sooner as I’ve tossed mealy peaches, nectarines, and oranges; tasteless and disagreeable tasting apples and pears; and other unappealing fruits and veggies into smoothies in which their unpleasantness is lost among the many other flavors. In the end, the yield is more smoothie, more nutrition, and less waste. Win-win, I like that.
Small Kitchen Organizing Ideas from Top Organizers Around the US
Organizing a small kitchen can be challenging. Limited counter space, cramped cabinets, and cluttered drawers make it difficult to find what you need and hard to cook and entertain.
Fortunately, there are many small kitchen organization ideas that can help you make the most of your space while keeping it stylish and clutter-free. With the right know-how and a few simple tricks, you can turn your kitchen into the heart of your home.
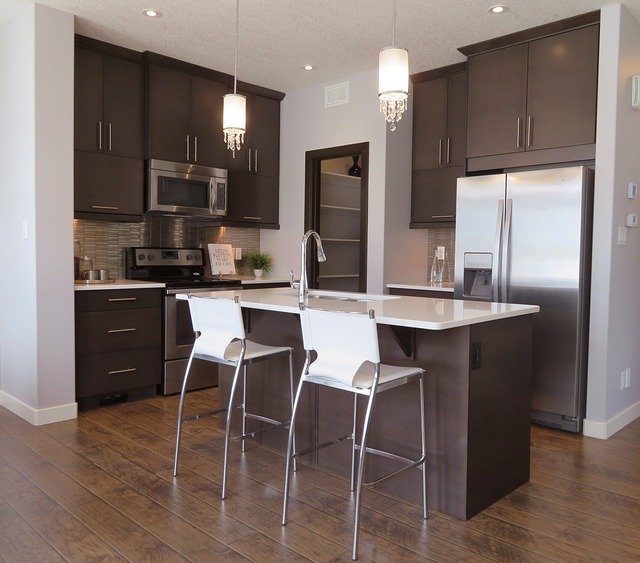
Organizing options to help you set up a kitchen for more effective functioning no matter how big or small from top US Organizers. Image by ErikaWittlieb from Pixabay.
Check out numerous easy to execute organizing options featured in 26 Small Kitchen Organization Ideas to Simplify Your Home.
Once again, The Practical Sort is proud to announce inclusion in the article as a top organizing and decluttering expert by Redfin. Check out the recommendations. Start organizing your kitchen effectively no matter how big or small. Function, flow, and aesthetics are achievable with these adjustments.

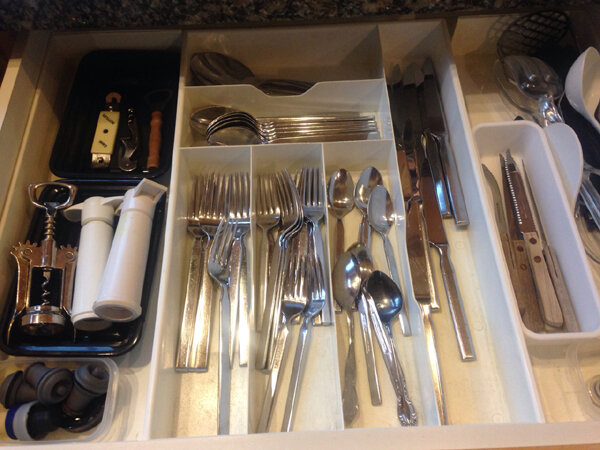
Organized utensil drawers. See what you have at a glance. Find what you need fast.
Whether you’re
- Grabbing ingredients for a recipe without missing a beat
- Grocery list inventorying in a snap, or
- Tallying whether you have enough clean utensils and dishware to get through the next meal with or without guests…
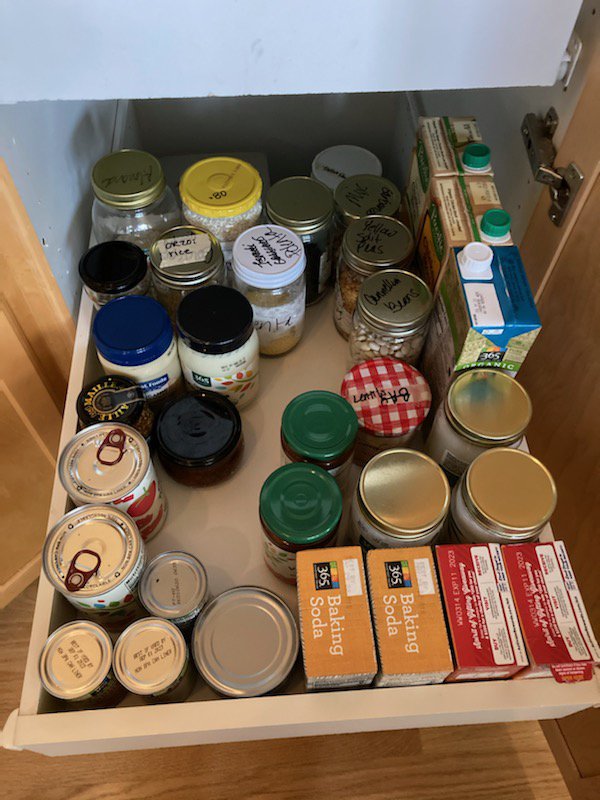
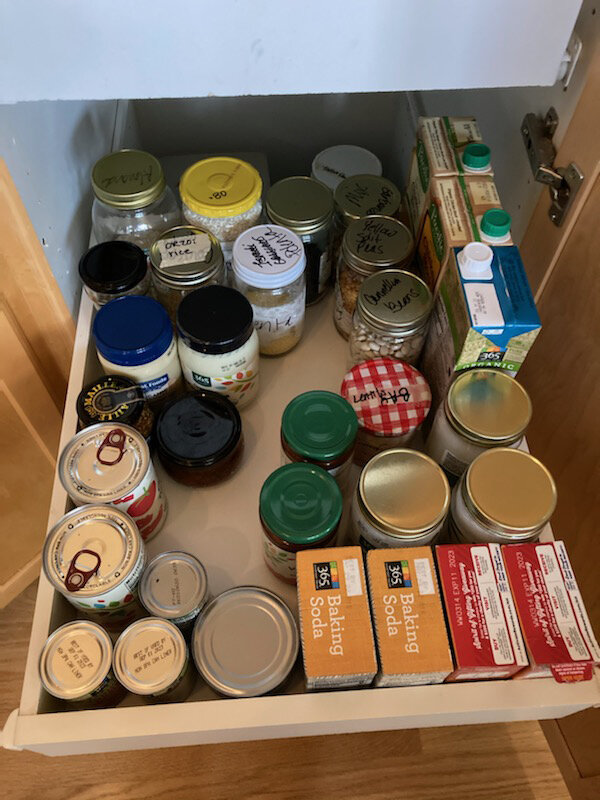
Pull out drawer glance. Look down, find the category, get what you need. Labels don’t have to be fancy. They just need to be useful. Use a marker to label can and jar lids.
Organizing your kitchen to assess and access at a glance helps your brain spin less, increases your efficiency, and saves time.
Simple ways to do that are to group items by category. For example, all baking goods in one area, all spices and herbs in another. All canned sauces on one shelf and all jarred condiments on the next one up or down. Grab a fun basket to house pasta bags and boxes. Use clear glass jars on a floating shelf to rehouse different shapes and sizes of pasta for easy visuals in a decorative way. For a little Pantry Pride and extra hints, visit this pantry arranging tip.
Need suggestions for storing containers and lids? Read this nesting container tip. Not sure how to make sense of the messy utensil drawer? This tip will get you sorted.
If it isn’t possible to see everything, which in many pantries, drawers, or odd shaped cabinets is the case, having a method such as grouping by categories will draw your eyes faster to what you need. That could look like sorting by color or size or shape, even pretty product labels. Whatever works for you or the predominant user will help make it easier to put things away where you determine they belong. If the system doesn’t work, change it up. Just don’t give up.
If your kitchen and budget are ready for a complete kitchen makeover, use this Kitchen 101 step by step design guide to ensure your kitchen will work for you.
For more ideas how to rearrange, categorize, and organize your kitchen, visit these practical kitchen tips.

Image by Rudy and Peter Skitterians from Pixabay
Are you thinking that it’s finally time to give your kitchen a major or minor overhaul? A full kitchen remodel may or may not be in the budget or cards, but a minor retooling can happen cheaply and relatively painlessly. Here’s how.
Once you decide that you would like to tackle a kitchen reorg, before jumping in full-on, conduct a rapid assessment. Take a good look at the landscape. Your floorplan, your cabinets, your drawers, countertops, shelves, the location of your appliances, sources of light, etc. Dialing-in can help you plan for more efficient and effective use of what you have unless a full blow-out is your objective. As you observe, make note of the following:
1. The Big Picture
- What is working for you?
- Do you know where frequently used items are located and can get to them before the sauce or eggs burn?
- Are you able to reach what you need when you need it?
- Do you have room for the things you use?
- Are you able to move around easily?
- What isn’t working as well as you’d like?
- Are you continuously trying to cram things into storage areas?
- Is there little to no prep space?
- Do you frequently buy duplicates and triplicates because you didn't see you already had some?
- Do items feel scattered and placements illogical?
If everything is in working order, then you may only need a few tweaks or none at all.
Then there’s likely room for improvement. That being said, if it’s a super tiny galley kitchen with little to no storage, and most items reside elsewhere, then admittedly that will take a lot more creativity than this tip is going to cover. However, there are some inexpensive options that can make a big difference such as pull-out shelves if access is difficult or hanging pot racks if storage is minimal. A good clear out of unused items can also make a noticeable storage availability difference.
- Is there too much clutter to find what you need? Then you might need to begin culling through what you have to determine how useful the items are or if products are outdated, broken, or yucky. If so, it’s time to say “adieu” which will open up space for the things you wish to keep. If there’s nothing you wish to part with, perhaps relocating the infrequently used items will make room for the every day objects.
- Are you often climbing on stools or crawling on the ground to reach in dark cabinet recesses? Stow away items that you rarely use in hard to reach places. Be sure to avoid placing heavy items up high or down too low which could risk injury. And as previously mentioned, pull-out drawers and shelves can save your back and knees when accessing items stored in hard to reach parts of cabinetry.
- Are you noticing that you spend too much time criss-crossing the kitchen when emptying the dishwasher or setting or clearing the table? Consider relocating dishware and eating utensils for greater efficiency.

Visualize your ideal kitchen
- Your Ideal Kitchen Vision
- What would that look like? The aesthetics, the flow, the storage options, the prep spaces, let your imagination run around your dream kitchen.
- How would that feel? Productive, freeing, inspired to cook like a master chef?
- How would that make your life easier? Could you make healthier meals faster? Would the ease lead to more enjoyment? More time to dine with your family?
- How would you modify the current layout, the storage, the appliances if you could? Could the modifications be done without an architectural overhaul?
Sometimes a whole kitchen remodel is beyond the budget or desire for upheaval, but based upon what you would like to happen, that might help you tune into how you could improve the space usage in your current kitchen.

Ensure that kitchen arrangements make sense for primary user(s). Image by Werner Heiber from Pixabay
Analyze Usage (Optimizing efficiency & productivity)
- Who is the primary cook?
- Space needs to make sense for them.
- Where will you or they naturally reach for something?
- Think about the dominant hand of primary user.
- Will they naturally reach to the right or left for something they need quickly when cooking? If counter or drawer space allow for locating by hand preference, consider doing so.
- How tall is the primary cook?
- If most things are located out of reach, too high or too low, that will slow progress or possibly even result in injury. Most frequently used items should be placed somewhere between the knees and chest area, preferrably the waist if possible.
- Where is cooking prep done?
- Is it possible to clear counterspace in that area to speed up prep time?
- What objects should be close by for greater time use such as a knife set, peeler, can opener?
If you’re moving into a new home or reorganizing your current kitchen, analyze who is using the space (predominantly) and how.
3. Time For Action
- Getting Specific
- Now it’s time to hone in. Based upon geographic location within the kitchen and size of a drawer or cabinet, what items should be housed in there? For example, utensils such as a spatula or ladle might make sense in a drawer within easy reach of the stove.
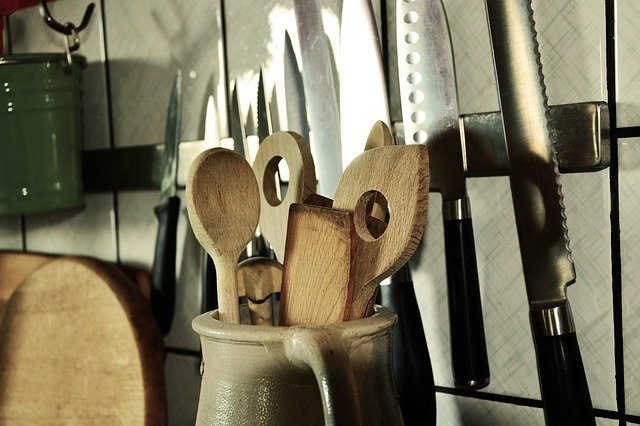
- If you don’t have room in a drawer for a utensil set, think about an attractive large jar, vase, or ceramic or steel holder if you have countertop space near the stove.
- Or hang the utensils on hooks along an open wall space. Using vertical spaces for spice racks, hanging pots, electric can openers, toasters can make a lot of sense to free up counterspace and keep things within easy reach.
- Start small.
- If working on a drawer or cabinet, start with just one at a time to avoid feelings of overwhelm and to stay within the time that you have available.
- Pull everything out. Start with a clean slate
- What do you use? Others use?
- How often?
- Is this location logical or should it be moved to a remote area if only used once or twice a year or less?
- Placement for ease of use
- Near the stove
- Near the sink
- Near the table
- Near the dishwasher
- Child safety concerns or their need to safely reach
- Are you visual? Can items be in a drawer or do you need to see them? Hang them on the wall
- Store in a decorative container on the countertop
- Restock the Drawer
- Use dividers for visual clarity
- Place like items with like. For example, keep all eating utensils together in one drawer separated by knives, forks, and spoons for quicker table setting.
- Be mindful not to overfill/clutter. If you can’t see what you have, you will be bogged down searching, wasting time, or repurchasing things you don’t need.
- Play Around
- Experiment and see if new system works for you. Rearrange until process works smoothly. Keep in mind that nothing is set in stone so feel free to rework it until it feels amazing or looks comfortable.
- Give yourself and others time to learn new system and where items have been relocated to. I mentioned a while back that it took over 14 days to retrain my brain where to retrieve and stow away a product after rearranging my kitchen cabinet. Doing so before my morning coffee added to the addled brain. Accept that change is going to take time.
- Finally, the goal of a kitchen reorganization is greater efficiency not perfection. An aesthetically pleasing kitchen that works well is pure gold.
Limited storage space? Use containers and open wall spaces to maximize storage. Image by congerdesign from Pixabay

Place a clean rag on your counter. Rinse dirty side of cutting board then flip it for double duty use.
Need more cutting boards? Is your favorite always in the dishwasher? Use both sides before you toss it in the dishwasher. Simply flip it. Lay out a rag on the countertop where the flipped cutting board will be set down. If there’s lots of goo or food particles on the side you’ve been using, scrape off the excess peels and crumbs into your compost bin, give the cutting board a quick rinse if you choose, then flip it to the other side.
Use your judgment if you feel comfortable doing this on a board that was used for cutting meat, fish or seafood. I don’t as I may have missed drippings that could have contaminated the reverse side. I also rinse my fruits and veggies before cutting to prevent contamination from invading the insides of the produce.
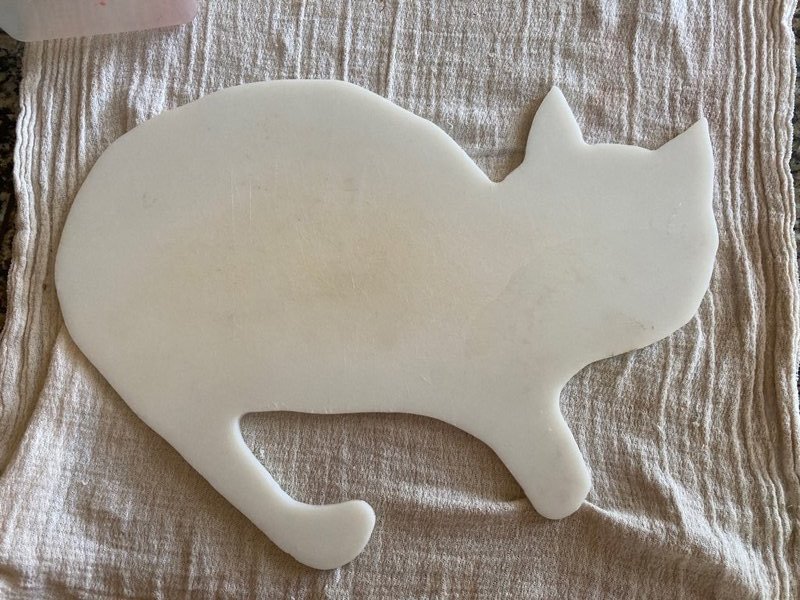
Reverse side is clean for rinsed produce and other non-meat, non-seafood use
Understandably, some cutting boards can’t be flipped. I have one board that was constructed with a rubber runner underneath to keep it from sliding around. All the others normally do double-sided duty before hitting the dishwasher. I don’t go through cutting boards as quickly in between dishwasher loads, and it saves space inside the dishwasher tub.
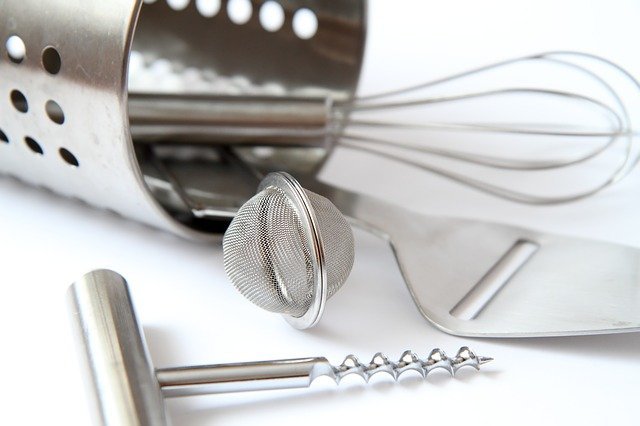
One of the biggest missteps I see in kitchens (including my own) is over accumulation of small appliances, cookware, and gadgets that frankly we will rarely use, if at all. Sound familiar? Unless you have a gourmet kitchen, most kitchen storage is limited and every inch of real estate should be coveted and doled out to our favorite and go-to tools.
Take a look in your kitchen drawers and cabinets. Any utensils or accessories that you have no clue what they are or used for? Be honest. Now sometimes we get clever and create our own uses (I did that yesterday with something that looks like a melon baller), but most of the time these unidentifiables languish and eat space.
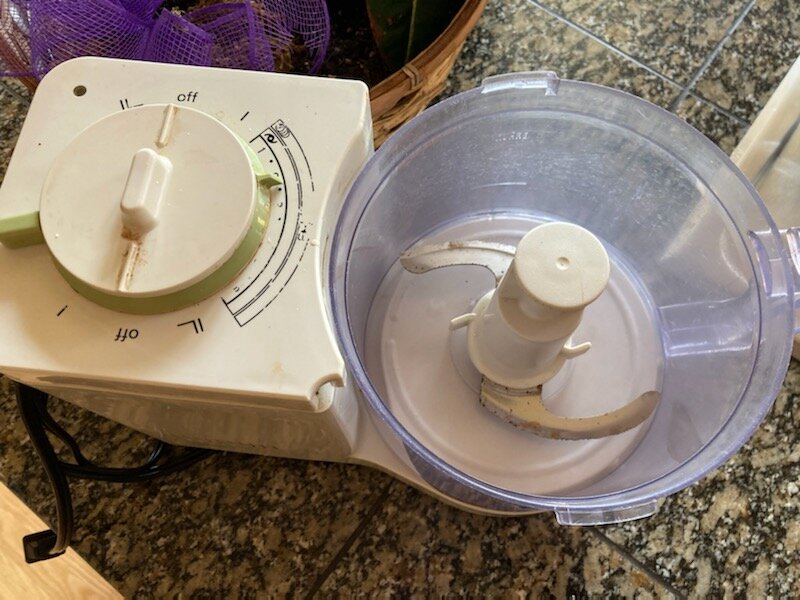
Advertising temptations lure us in. They lead us to believe life will be so much easier with one of “those”. You’ll save so much time, you’ll eat healthier, you’ll cook more, and you’ll use it all the time. Sure. Once the novelty wears off, or it’s more work than you thought or change your diet, that thing becomes another castaway in the back of a drawer. Of course there are some gems that make our hearts sing. There isn’t a day that goes by that I don’t use my blender, food processor, baking stone and many other tools. These were all gifts that I never thought I’d have use for. Wrong! But if you receive a gift that never sees the light of day or night, then pass it along without guilt to someone who might appreciate it more.
Then there are the products that break, the ones we will get around to repairing someday. That someday never arrives. Make that time now. Holiday season is barreling down. Before new goods cry for storage space, start preparing now. Here are some tips to begin.
Repair
- Take broken appliances to a repair shop or send them back if possible for replacement (check warranty details or converse with the retailer or manufacturer for proper procedures).
- Look into local Repair Cafes for minor (sometimes even major) fixes to your ailing mixer, electric can opener, or other small appliances. Volunteers staff these events and save you money.
Donate
- Donate or sell appliances, utensils, glassware, and cookware that you do not use. There's an abundance of need. Check out local non-profits, religious organizations, and other community groups for options.
- Neighborhood collectives such as NextDoor and BuyNothing Groups can connect you with budget and eco-conscious consumers looking for your no longer needed gadgets. Keep them out of the landfill for a few more years.
Sell
- Selling admittedly can be more labor intensive than dropping items at the donation center or recycling. However, the pay-off may be worth your time. It may not. Value is not based on the price you paid. It's what others are willing to pay. If time is precious, then you might wish to look at less time intensive options such as consignment (below).
- Use caution when selling online. Meet in neutral locations (away from your residence is recommended) unless the buyer is a neighbor or the item is too big to easily move. Transact using pandemic protocols.
Consign
- Consignment is an easy way to allow others to sell your “nearly new goods” for a cut of the sale. Before agreeing, note their terms and profit split. Shop around for the best deal.
Recycle
- Recycle non-functioning appliances through your local E-waste program. Contact your waste hauler for info or search the web. And be sure to call disposal facilities before heading out the door for current lists of acceptable items, hours, and protocols.
Dispose unwanted or unusable appliances and cookware in an eco way if possible
Need additional disposal alternatives in your PDX metro area? The Practical Sort offers a long list of waste reduction, donation, recycling, and disposal resources with a click of your mouse. I’m aware that I’m probably sounding like a broken record that needs tossing, but please contact the facility before heading out the door for current lists of acceptable items, hours, and protocols.

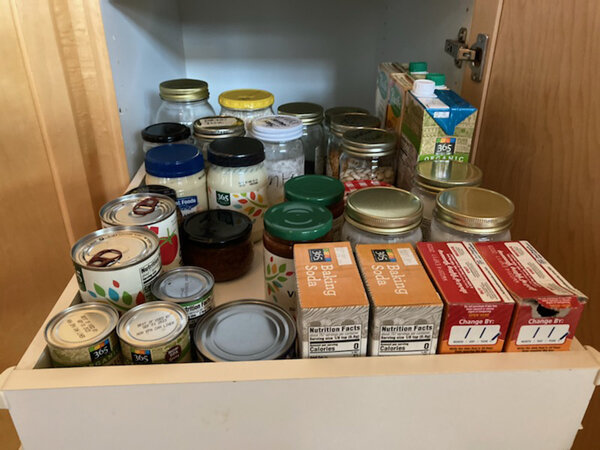
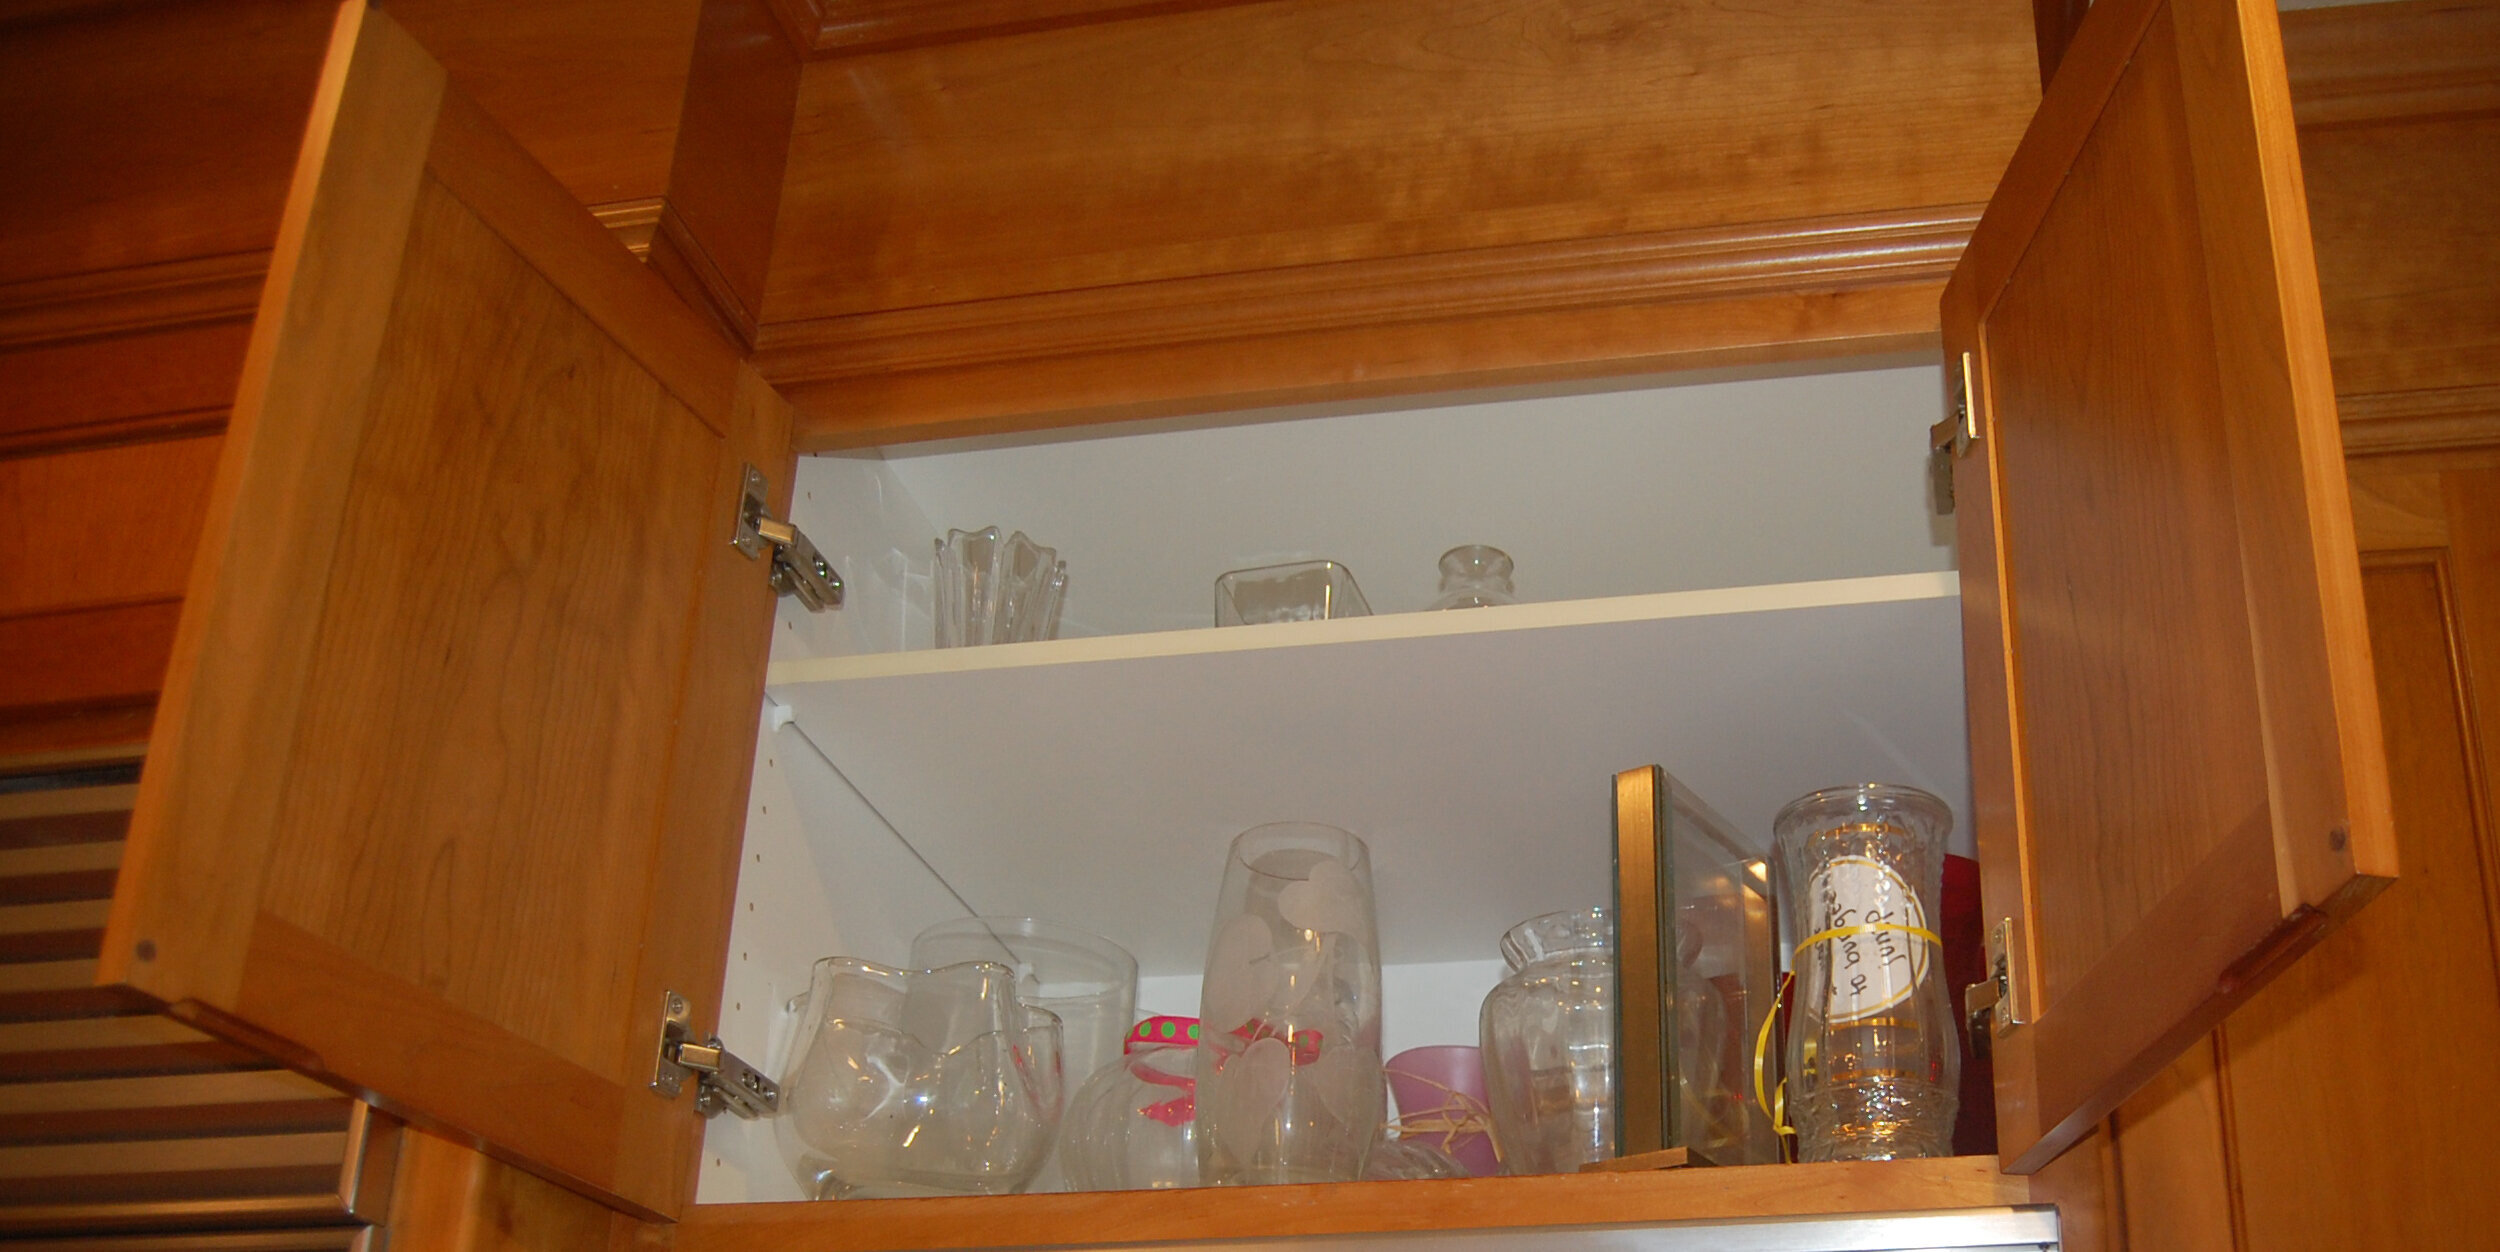
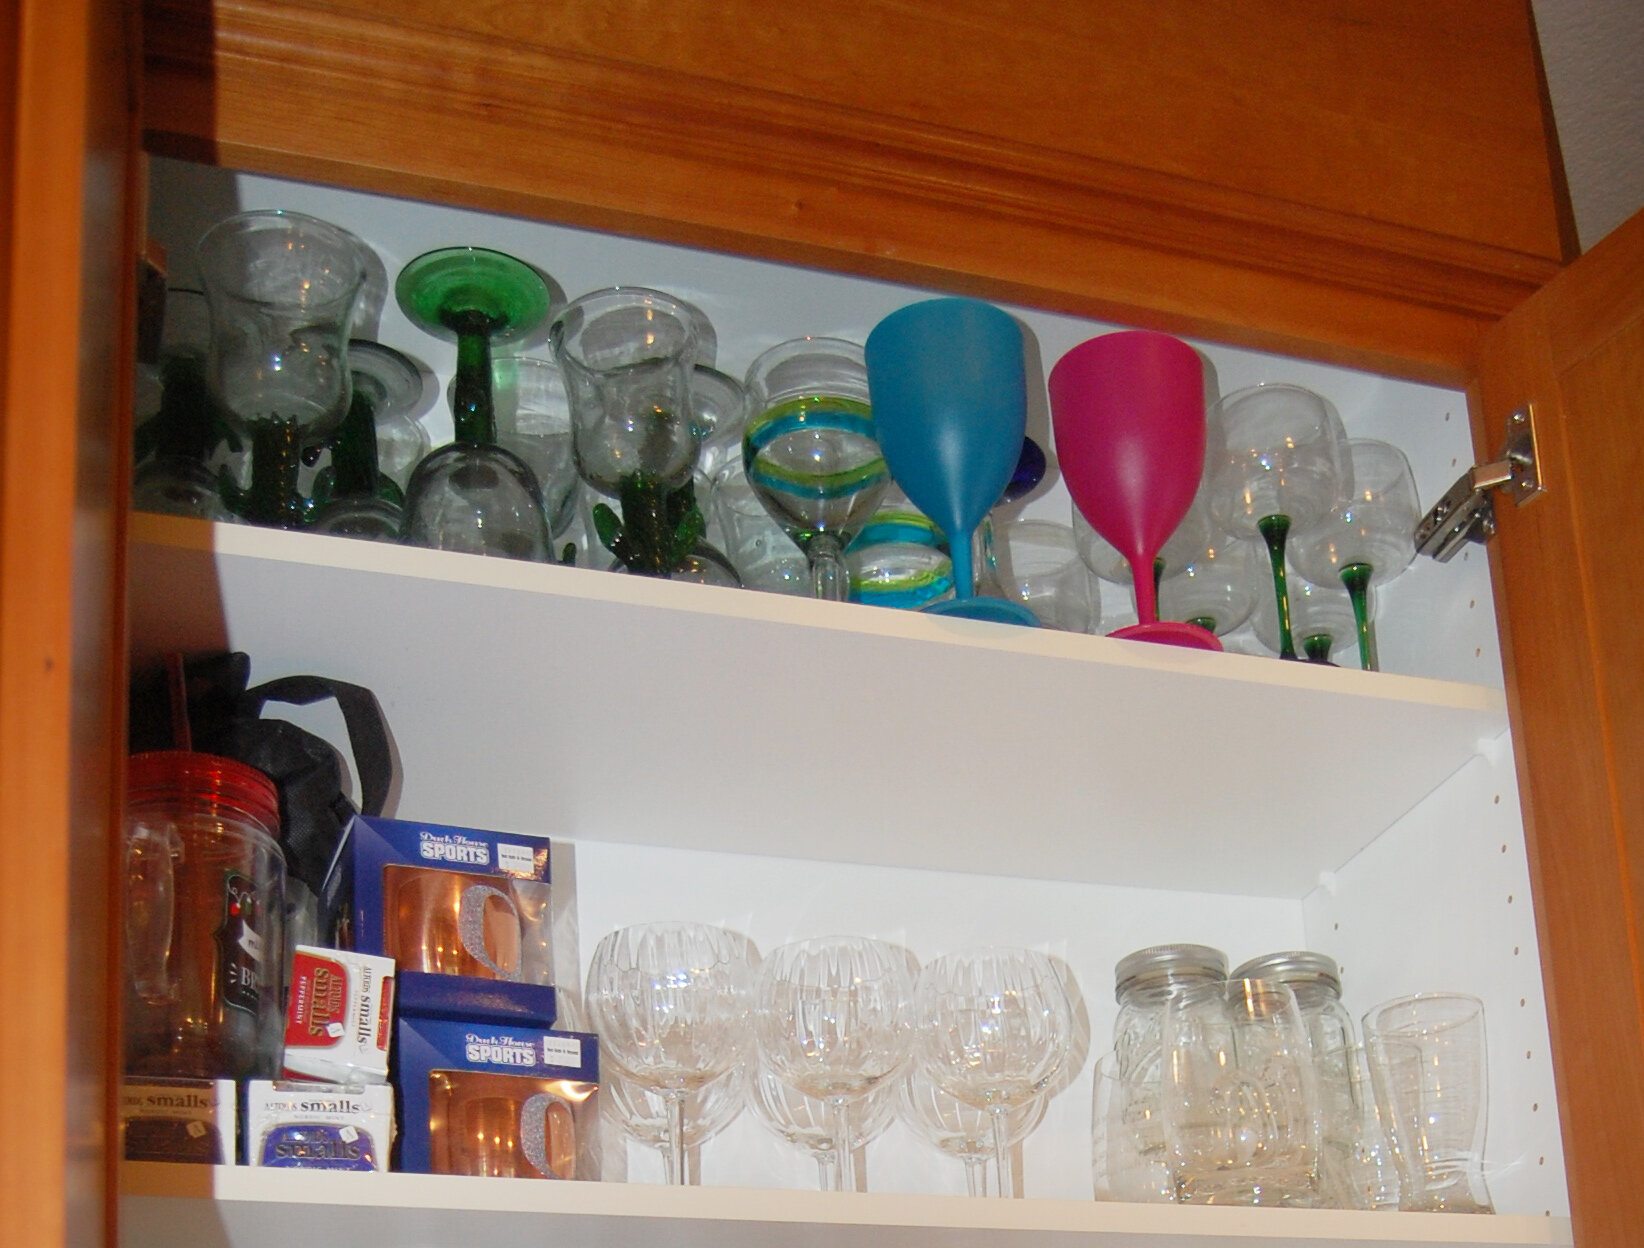
This high shelf was hard for me to see all the products easily and was limited in space
When you have a few minutes to spare, select a shelf or area in your pantry, refrigerator, and freezer to empty and clean. As you empty the shelves, keep similar items together such as all jams, cereals, tomato products. Then as you reload, it will allow for easy categorization and arranging. Store items in the front that you use often for quick grab and go. House seldom used items in the back, up high or down low.
If you read my tip last week, I recently rearranged shelves between 2 pantries. Despite a pull out shelf in a narrow pantry, I’m too height challenged to easily see the contents of the cans and jars. This slowed down my grocery list prep. By switching the cans and jars to a larger pull-out shelf in an adjacent pantry I can now readily see what I have and what’s needed. This new arrangement also provides room for other products that I used to store on a shelf that I had to stretch to reach or fetch a step stool which slowed me down.
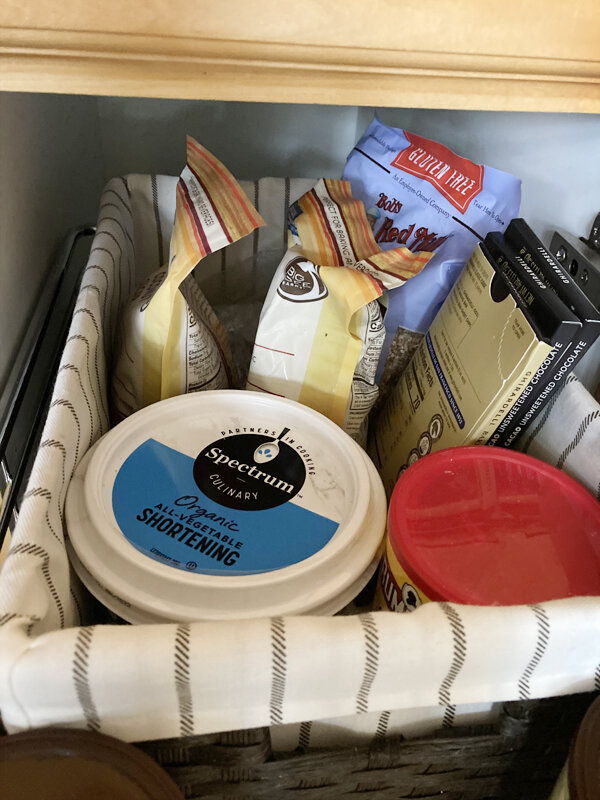
The baking goods that I moved to the former can/jar shelf are not used all that often. They are also items that stand up taller so I can easily see those products. The basket that houses these items nestled nicely in it’s new home, and it allows me to simply pull out the basket if need be to dig around.
There are no rules for where items need to be housed. The more readily you can see and access them, the quicker you will accomplish what needs to happen.
As you dig around your pantries you may discover expired or unusable products. Wash out cans & bottles for recycling, and compost old foods if compostable.

Match lids with containers and nest containers for space economizing
Match Game
Match storage containers and lids. Toss any that are missing a mate. Follow local recycling guidelines. Use nesting containers to save on space and only keep what you can fit and use.
If you have kiddos, create a sorting game. Even very young ones can develop or refine fine motor skill dexterity and observation skills as they give you a hand or two. Set a timer. See who can sort and match the most containers and lids before the alarm buzzes. Reward the winner with the prize of your choice. Sorting will go faster, it’ll keep them busy, and it’s a more fun way to do a household chore.
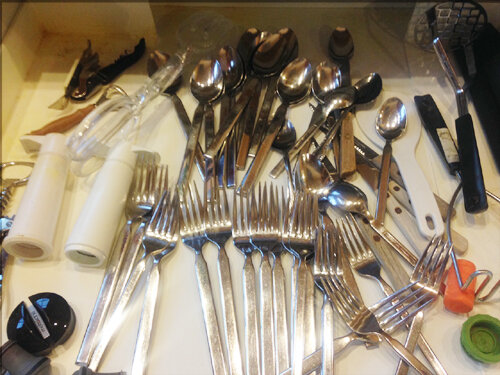
Utensil Sorting
If you find that setting the table is hampered by scrambling for forks, spoons, and knives scattered among other gadgetry then it may be time for a bit of drawer sorting and rearranging. Utensil organizers create categories for quick grab and go. Avoid confusion and endless searching.
Presorting makes dishwasher unloading fast and uncomplicated by taking the thinking out of where to put the clean utensils. They’ll be tidy and easy to find when you need them.
Discard any utensils that are no longer safe to use.
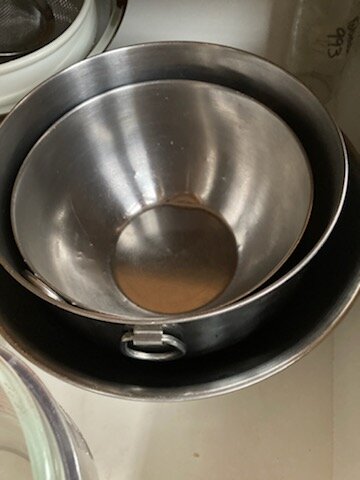
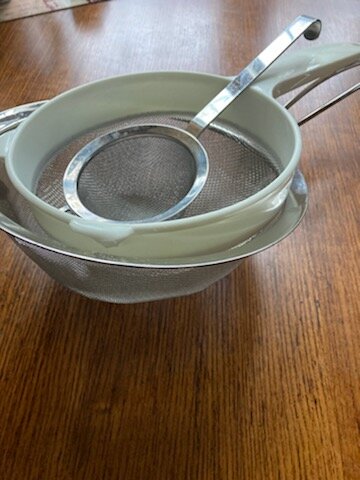
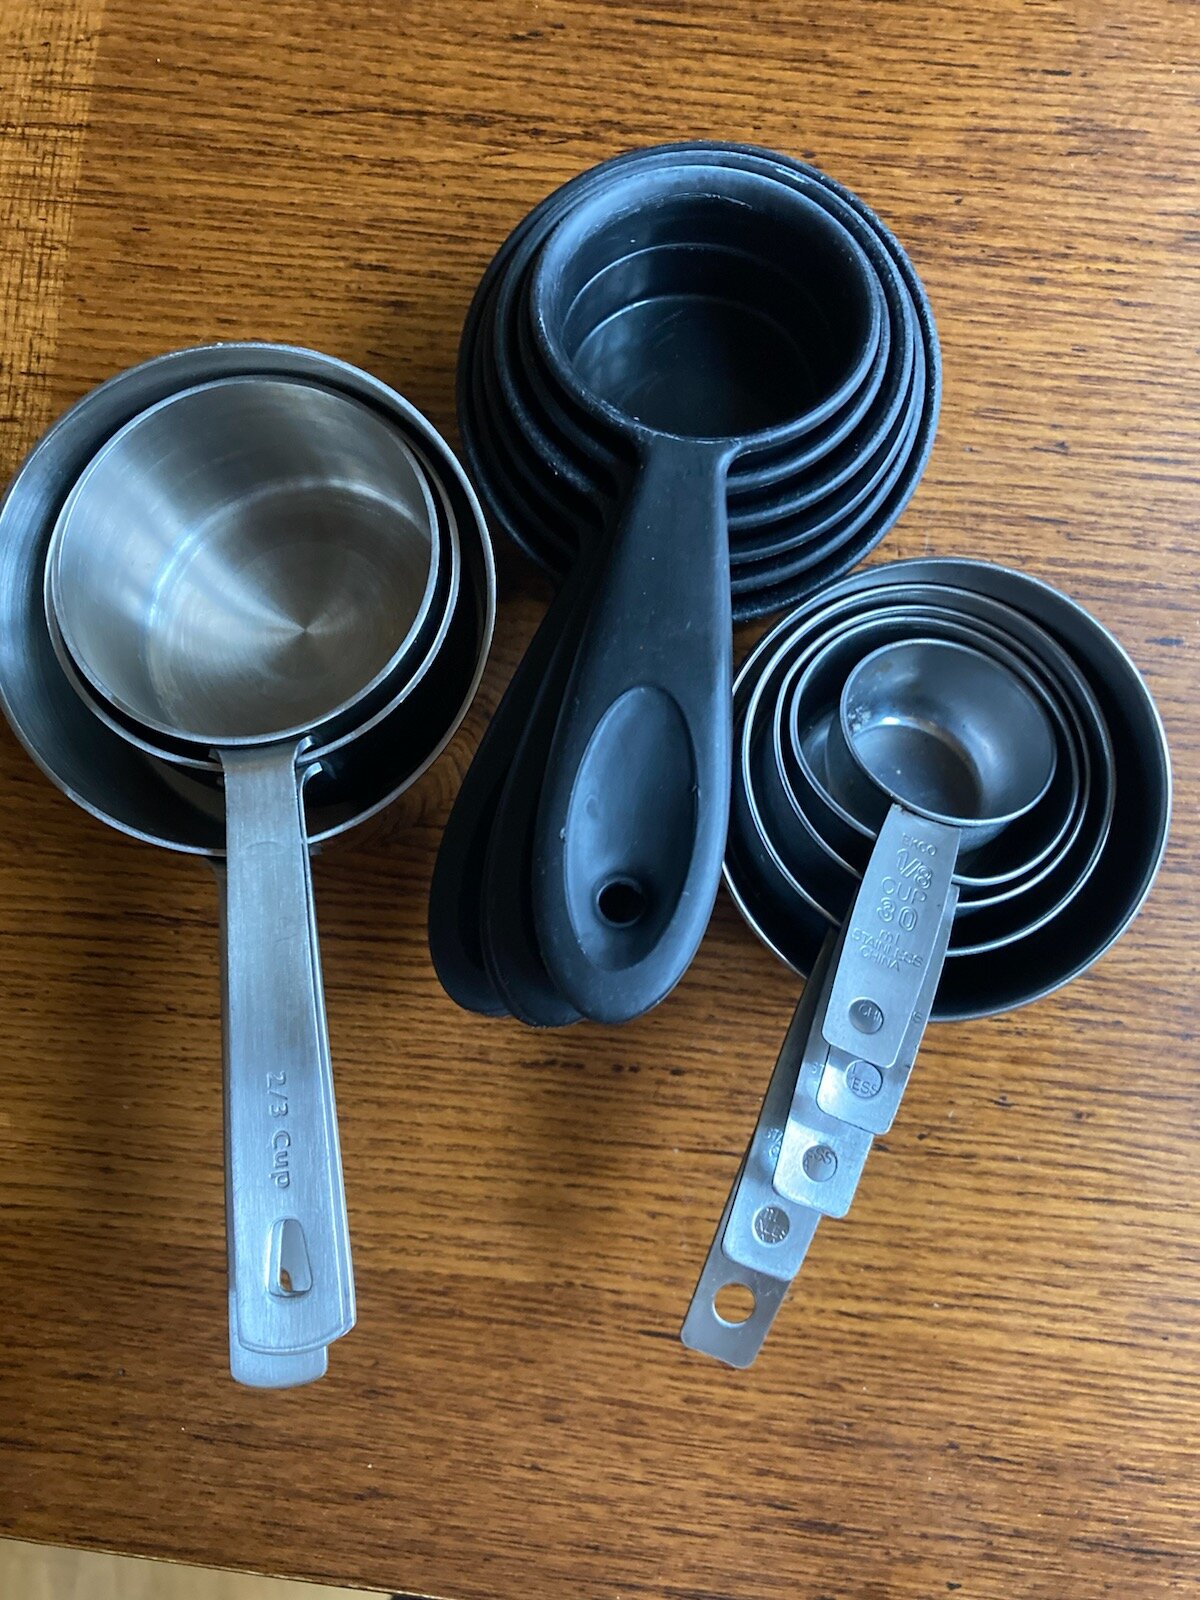
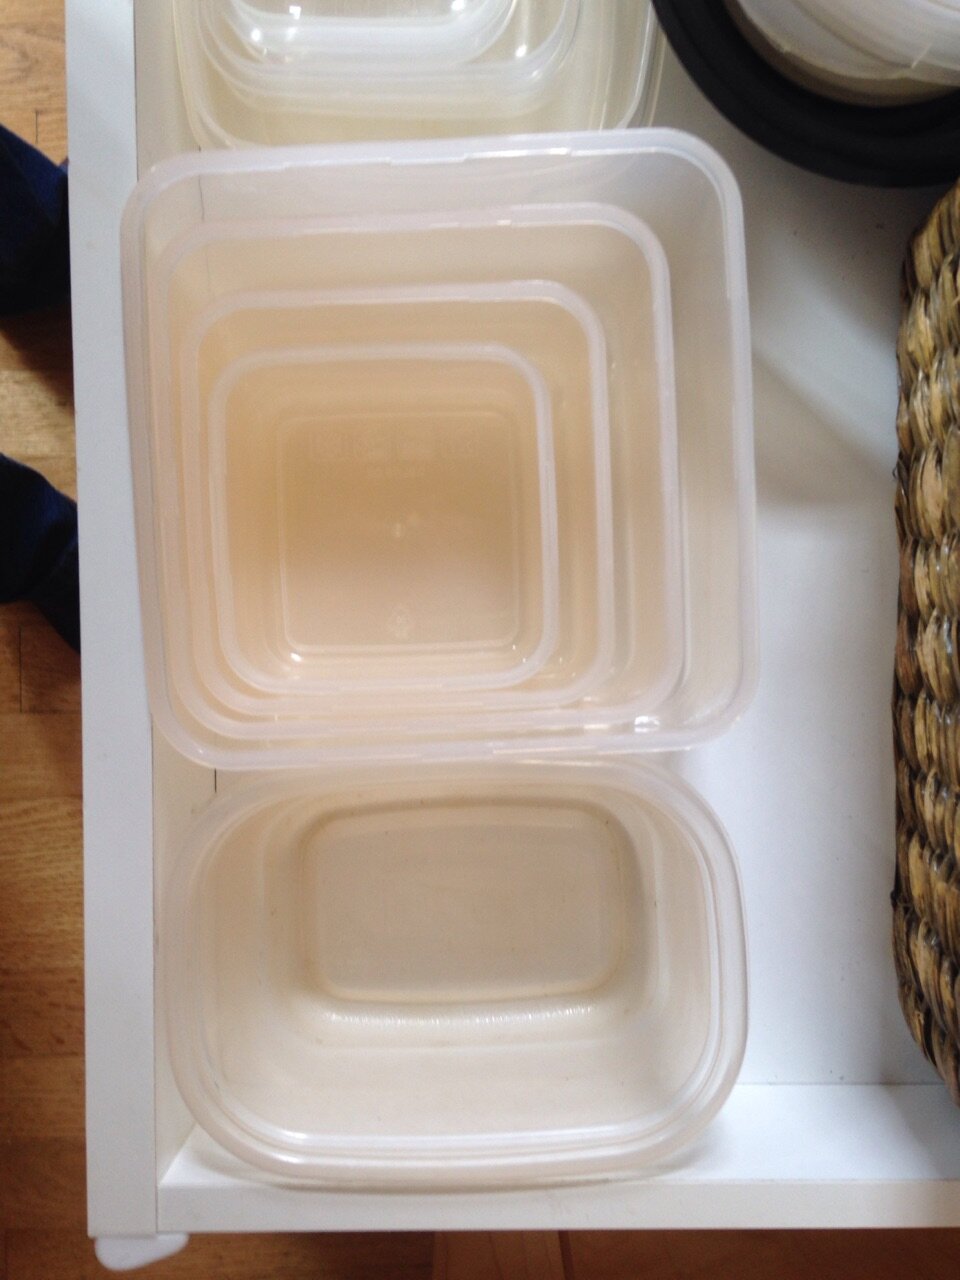
Although this may seem obvious, I’ve noticed that this simple tip is frequently overlooked. Nest any containers that can do so without suffering damage. For bowls, measuring cups, prep cups, containers, and strainers, use nesting as a super space saver. This system also makes locating items so much easier.

Elfa pull out drawers are great for organizing cleaning products. This narrow unit fits snuggly next to the drain pipe.
Under the Sink Landfill
Is the area under your kitchen sink a messy landfill of cleaning supplies, recyclables, trash, and other odds and ends? Does it take you too long to find a sponge? Maybe it’s time for a little cabinet TLC.
Pull out storage bins like those to the left are from Elfa. This narrow unit fits snuggly next to the drain pipe. They keep cleaning products neatly organized and easy to reach.
Or you can use what you have on hand. I have repurposed old bins for easy pull out of hand soap, detergent, steel wool, vinegar, and recyclables. The cabinet under the sink is a work in progress. The garbage disposal and pipes make efficient use of the space difficult, so I’m constantly tweaking for easier access.

Repurposed bins for detergents, hand soap, vinegar, recyclables make access fairly easy. This location is a work in progress.
Organize plastic bags by placing them inside a larger bag then hang them from an adhesive hook on the interior cabinet doors. I use Command Hooks. Please note: I recently learned an important lesson. In the past, my Command Hook inventory went quickly working with clients. During the pandemic, they have lingered too long. The adhesive strips no longer stick. 3M advises using Command Hook adhesives within 12-18 months. Once adhered to a surface, they should stay put for years. 3M admitted that it is tricky deciphering how long boxes have sat on retailer shelves. Amid the small print on the back of the box, look for a manufacturing date.

Organize plastic bags by placing them inside a larger bag then hang them from adhesive hooks on the interior cabinet doors.
Rags, sponges, and paper products can be neatly stowed in bins or baskets attached to the inside of the cabinet or on the door or in a drop down drawer.

A drop down drawer under the sink neatly stows brushes and sponges.
Clear out products under your sink that you do not use. Note whether you need to follow Household Hazardous Waste (HHW) guidelines before disposing or recycling.

Use magazine holders for storing your cooking magazines and books. Lean the adjacent book forward so you know where to replace the one you’re using.
Recipe Storage
Cooking magazines and cookbooks can be tamed within magazine holders to file them neatly on a shelf. If you store them in any particular order, slightly pull out or lean the adjacent edition forward so you have a fast reference for refiling. Just remember if you pulled the one to the front or back.
Use sticky page flags to mark favorite recipes or those you wish to whip up in the future. I keep an Excel spreadsheet index of my favorite recipes from these magazines categorized by type of entree, appetizer, side dish, breads/crackers, dessert, and beverage. Then when I need ideas, I scan the list, add necessary ingredients to my grocery list or assemble the ones I have and start cooking.
Mise En Place: A French Term, An Organizer’s Dream
I love the sound of Mise En Place, the French term for put in place, the phrase sings to my little organizer heart because it reminds me to get and stay organized with a little prep before cooking or baking. You might think that prepping wastes time. Au contraire, gathering ingredients and measuring prior to cooking allows the process to zip right along. It’s essential if you’re making something complicated or timing sensitive. Being prepared means less chance of your gumbo roux burning or crepes sticking. You can tend to the sautéing and flipping rather than headless chicken searching or peeling and chopping as the food chars.
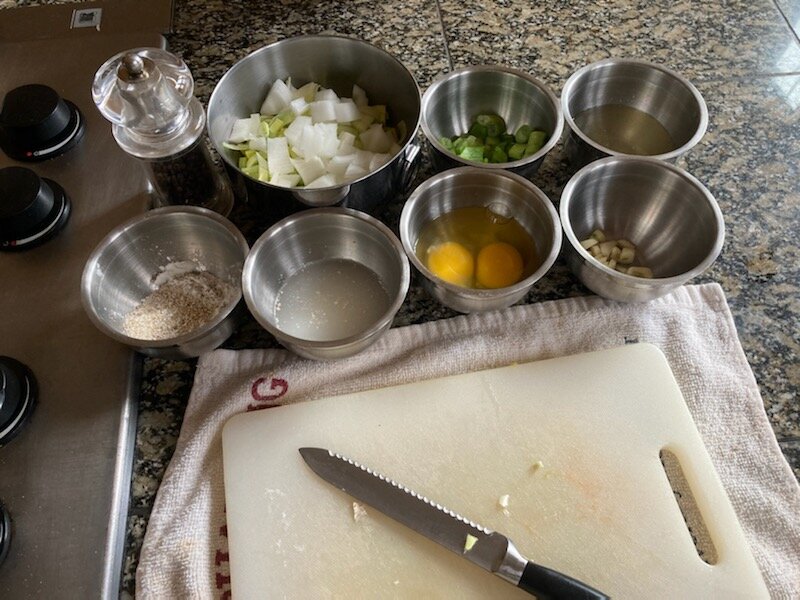
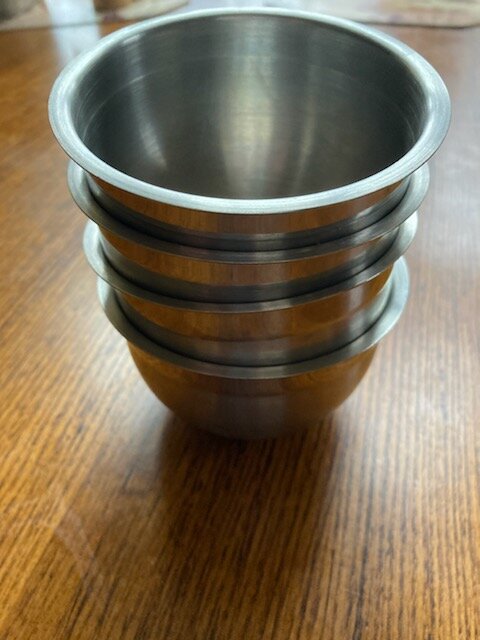
Mise En Place prep bowls. Arrange ingredients according to recipe order.
Mise En Place gives a heads up if a key ingredient you swore you had has gone AWOL. You can run to the store before you begin heating the oven or change recipes until after your next grocery run.
It’s especially useful for complicated recipes or if you experience focus issues. Prepping ahead allows you to literally grab and toss in.
Here’s what I do. I use prep cups, although you can use plastic containers, glass jars, or even coffee mugs to hold measured ingredients. Then line the ingredient filled cups up in the order the recipe calls for. No guessing what comes next. Easy peasy. After dumping the ingredients into a pot or mixing bowl. Stack the prep bowls. Then take the stack straight to the dishwasher or a quick rinse if they held easy to clean away ingredients.
Next time you cook a recipe with lots of ingredients or wish to tackle a rather complicated, multi-step, or time sensitive recipe, give Mise En Place a try for a more organized and easy-going endeavor.
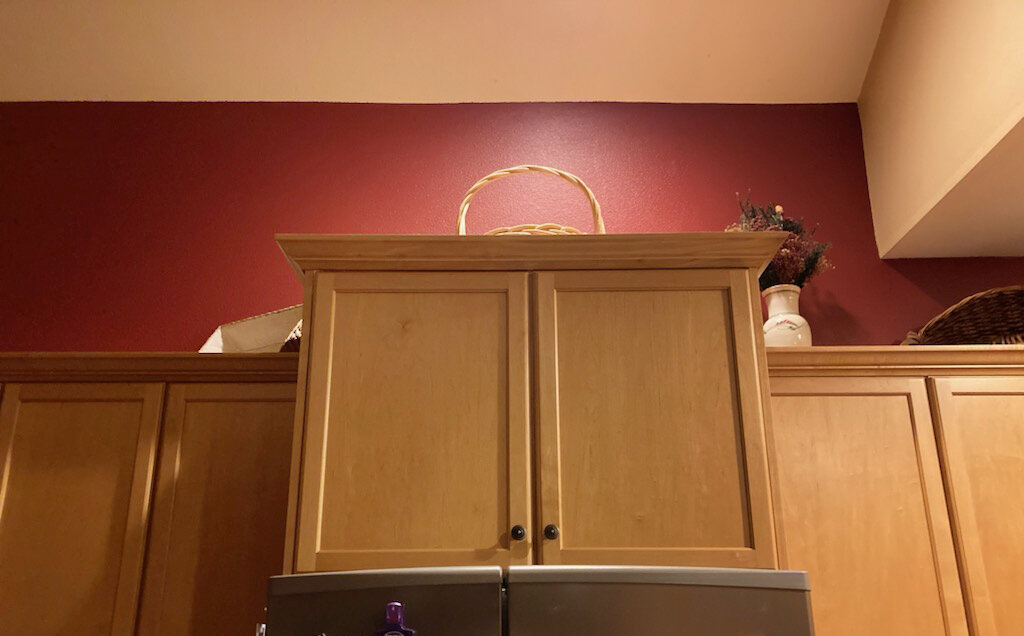
High cabinets are inconvenient for the height challenged user
You’ve got lots of stuff to store. Canned and boxed goods, glassware, dishes, pots and pans, casserole dishes, small appliances, gadgets, containers, and so on. What do you do if there’s scant space to stow it all?
If you’re height challenged like me, making use of those high kitchen cabinets is a drag. Fetching step stools or piling crates to reach into them takes time, is inconvenient, and can be a bit hazardous. I’ve nearly twisted my ankle on more than one occasion. Therefore, reserve those out of the way shelves for items that are seldomly used, breakables to keep out of the hands of young children, or don’t fit well into the lower spaces. Use those areas above the fridge or well above arms’ reach for picnic supplies, holiday dishware, vases, sentimental glasses and mugs. Upper cabinets are ideal for the things that you can’t part with but maybe use few times a year if that much.
The same is true with very low cabinet shelves or difficult to access crannies. If you have to perform kitchen gymnastics to reach deep into the recesses potentially straining your back, neck and knees, use those spaces again for rarely used items.
It’s advisable not to place very heavy items too high or too low due to risk of injury lifting while bending deep or carrying over your head. By now you likely know I’m an advocate for pull-out drawers or baskets that easily slide. Oh, they make stuff so much more accessible. However, sliding drawers may not be workable in your kitchen or if you live in a rental. Instead, place the most often used items or unwieldy appliances between knee to shoulder height is a safe and much more convenient option. Be creative to save your body and time.

